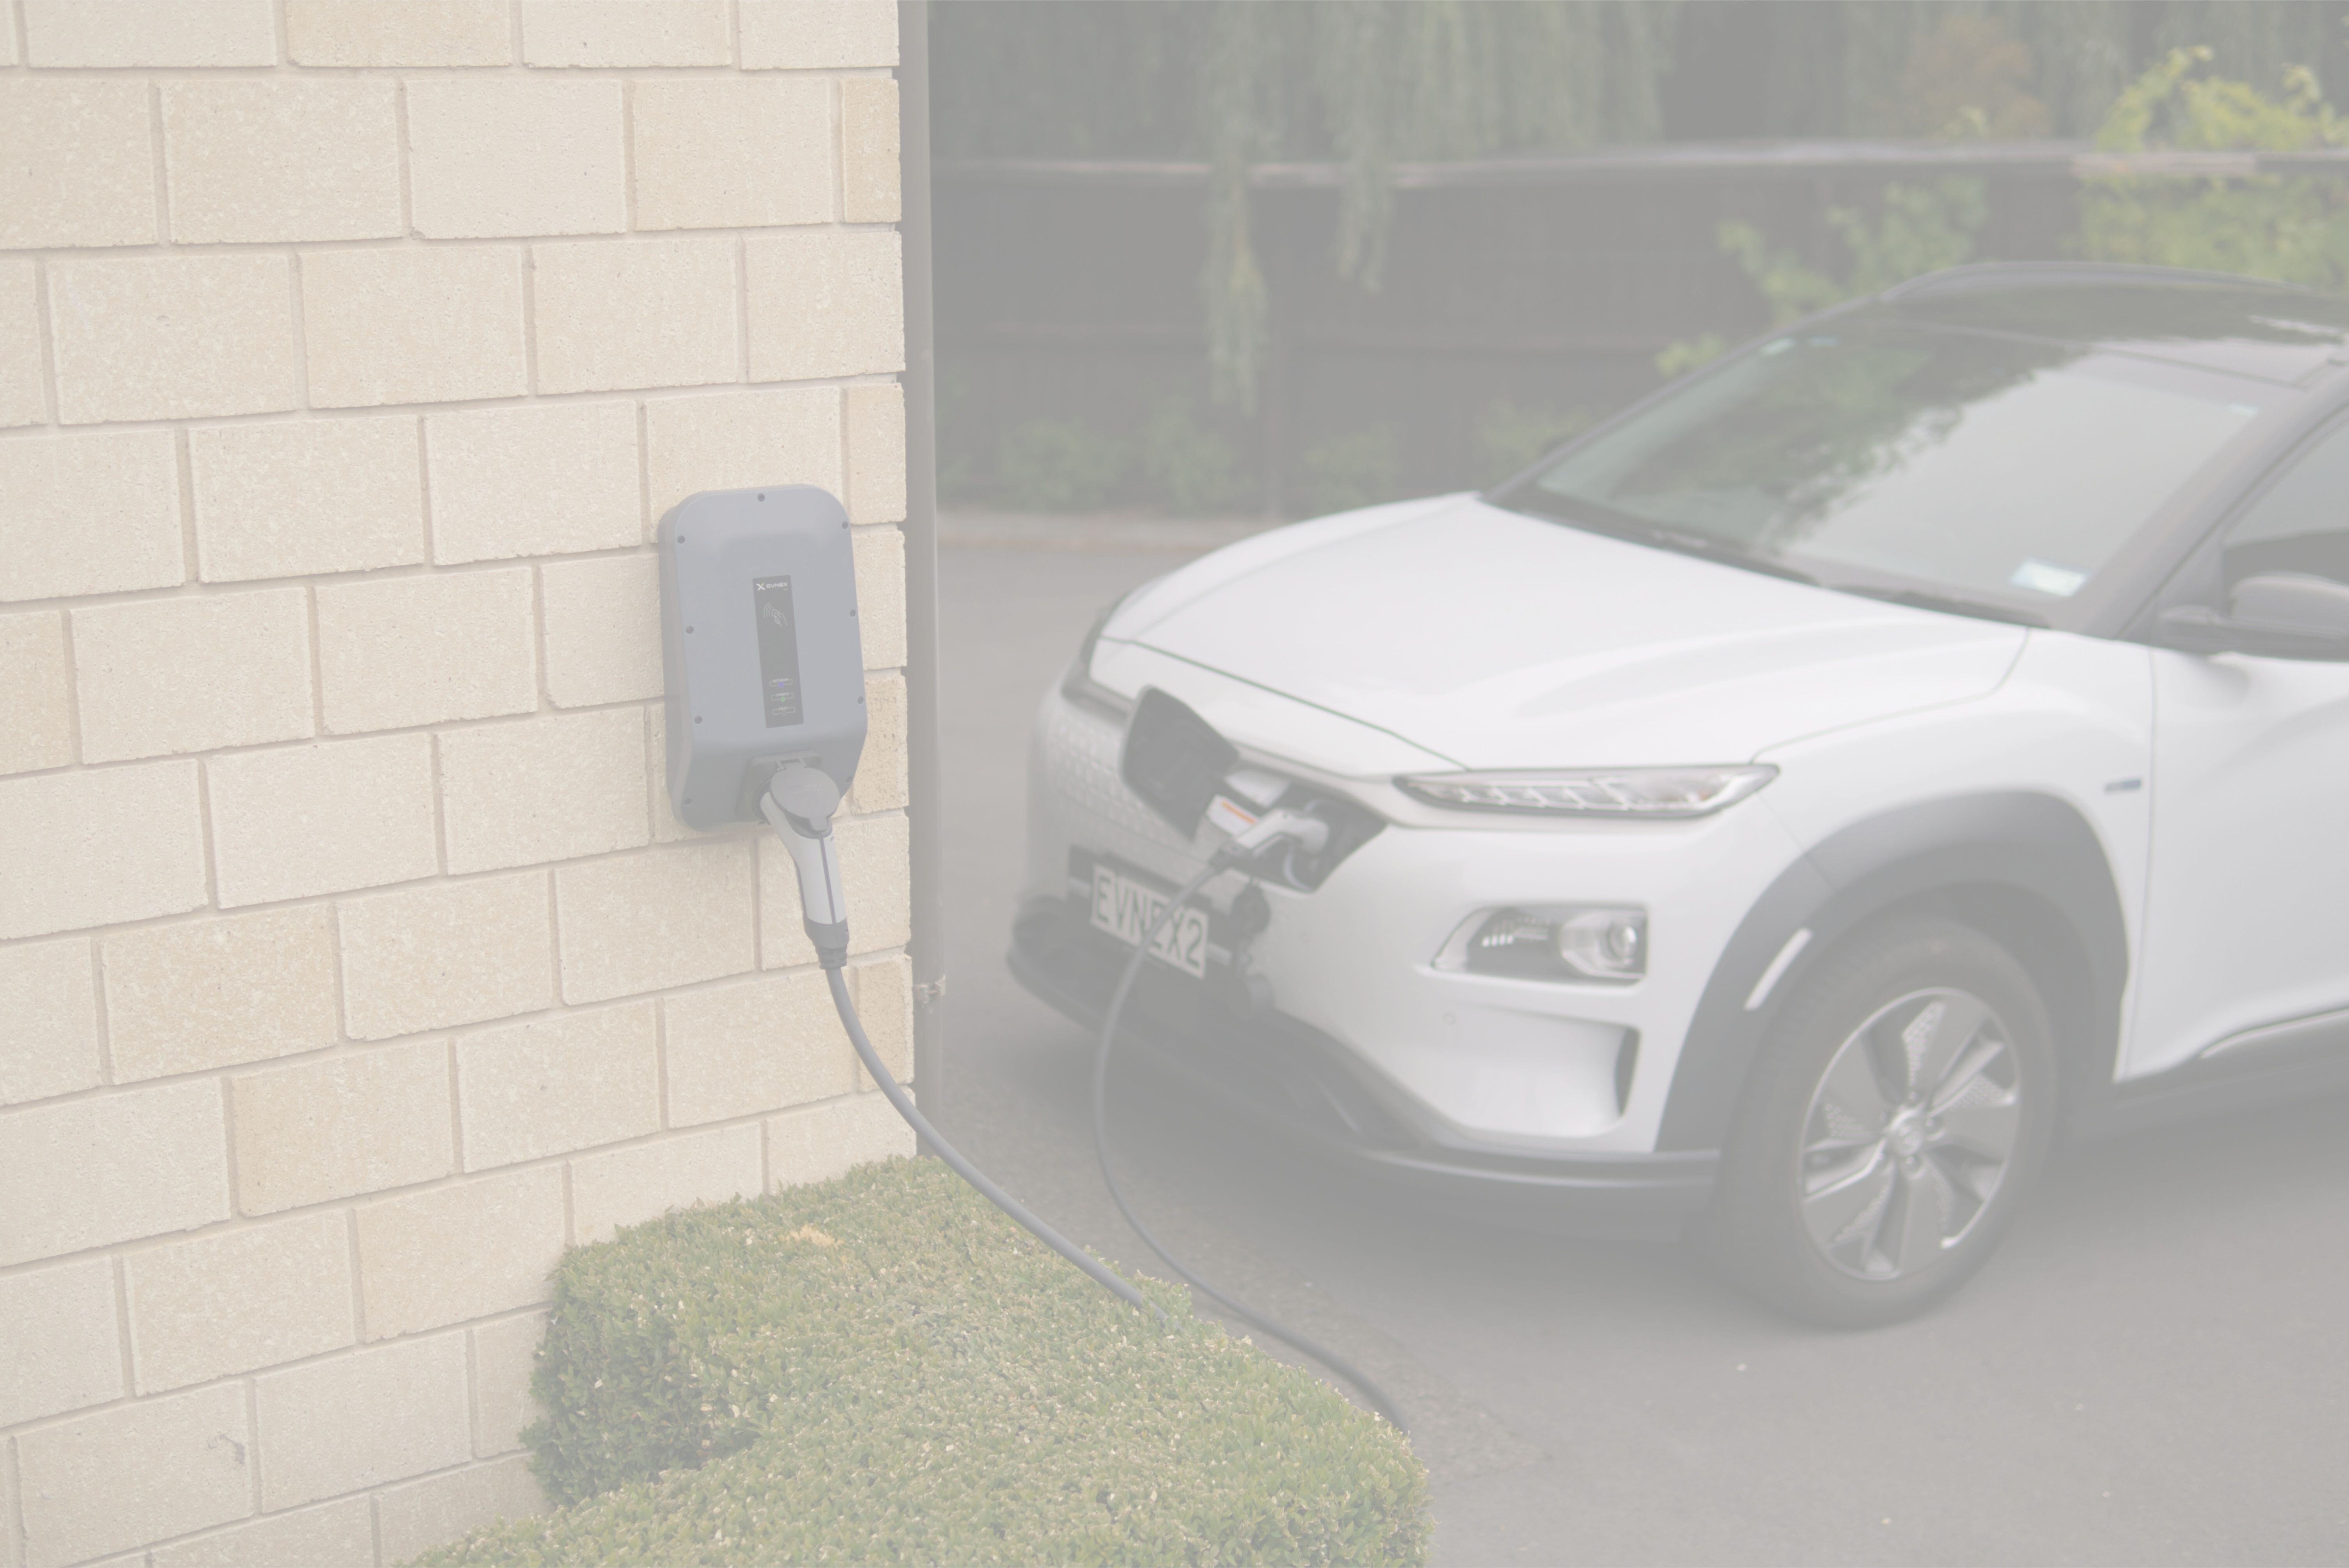
With all the upheaval regarding electric vehicle tax credits and what is happening with the entire industry, you may be considering installing an at-home EV charger, especially a high-powered Level 2 charger like a Tesla Wall Connector, before it is too late to take advantage of the tax breaks. It is a smart move for convenience and efficiency, with possible long-term savings as well, but the process doesn’t end when the charger is mounted on your wall and connected to your panel. In most areas, permitting and inspection are essential final steps that ensure your installation is safe, legal, and up to code.
If you're wondering what happens after your home EV charger is installed, we’ll walk you through Permitting and Inspection 101. From what’s required, who handles it, and why it matters for your safety and property value.
Why Permits and Inspections Matter
The most dangerous part of installing a level 2 charger is that it involves working with high-voltage wiring, modifying your home’s electrical panel, and potentially altering structural or exterior elements.
Due to this, almost all local governments and utility providers require permits and post-installation inspections to ensure:
- Electrical safety and code compliance
- Accurate reporting for rebate or tax credit eligibility
- Utility grid readiness and power load balancing
- Legal documentation for future home sales
Skipping permits or failing inspections can result in fines, insurance issues, or even the need to uninstall and redo the work.
Step 1: Pulling the Permit
Who Applies?
In nearly all cases, the licensed electrician handling your EV charger installation will apply for the necessary electrical permits on your behalf. This is part of their professional responsibility and ensures that the project begins with official oversight.
What Does It Cover?
A permit typically includes details such as:
- The charger type and specs (e.g., Tesla Wall Connector, JuiceBox, ChargePoint)
- Circuit capacity and breaker configuration
- Electrical panel modifications, if any
- Installation location (garage, exterior wall, carport, etc.)
The local building or electrical department reviews the permit before approving it.
Step 2: Installation Completion
Once the permit is approved, the electrician will install it in compliance with National Electrical Code (NEC) standards and any local code variations. Depending on your home’s existing setup, this may include:
- Installing a dedicated circuit and breaker
- Upgrading your electrical panel if needed
- Running conduit and wiring to the installation location
- Weatherproofing for outdoor setups
- Mounting and configuring the EV charger
After installation, the electrician typically performs an internal test to ensure the unit is functioning properly before scheduling the inspection.
Step 3: Scheduling the Inspection
Who Schedules the Inspection?
As with the previous steps, an electrician or contractor who pulled the permit is also responsible for scheduling the inspection. They’ll coordinate with your local authority having jurisdiction (AHJ)—typically the city or county building department.
How Soon Does It Happen?
Inspections are often scheduled within a few days to a week after installation, depending on the local office’s workload. In some locales, virtual inspections are now available, especially for simpler residential setups.
Step 4: What Happens During the Inspection
A city or county electrical inspector will come to your home to examine the installation and ensure everything complies with safety and building codes.
They’ll typically check for:
- Proper circuit breaker size and labeling
- Secure mounting and appropriate cable management
- Correct wire gauge and grounding
- Weatherproofing and outdoor GFCI protection (if applicable)
- Charger functionality and connectivity
- Adherence to manufacturer specifications (especially for Tesla Wall Connectors)
This process usually takes less than 30 minutes if everything is in order.
Step 5: Passing Inspection and Final Sign-Off
If the inspector finds everything is safe and code-compliant, they’ll approve the installation and close the permit. You’ll receive documentation (often digitally) confirming your EV charger is legally installed and approved.
In the event of issues, the inspector will issue a list of corrections, and the electrician will return to make changes before a reinspection is scheduled.
Bonus: Why This Matters for Rebates and Home Value
Many EV charger incentives, such as rebates from your electric utility or tax credits, require proof of permitted and inspected installation. Without that, you could miss out on hundreds of dollars in savings.
Additionally, if you ever sell your home, having a permitted EV charger installation on record adds value and helps avoid hiccups during the inspection process.
When you invest in a home EV charger, don’t overlook the importance of permits and inspections. We will not only install your system properly, but we’ll also navigate the post-install process to ensure your setup is fully approved, documented, and safe.
So if your electrician says, “We’ll schedule the inspection next week,” you’re in good hands. It’s the final piece in turning your home into a fully equipped EV charging station—and it’s well worth doing right.


.jpg)
.jpg)
SHARE